How to set your Roaster:
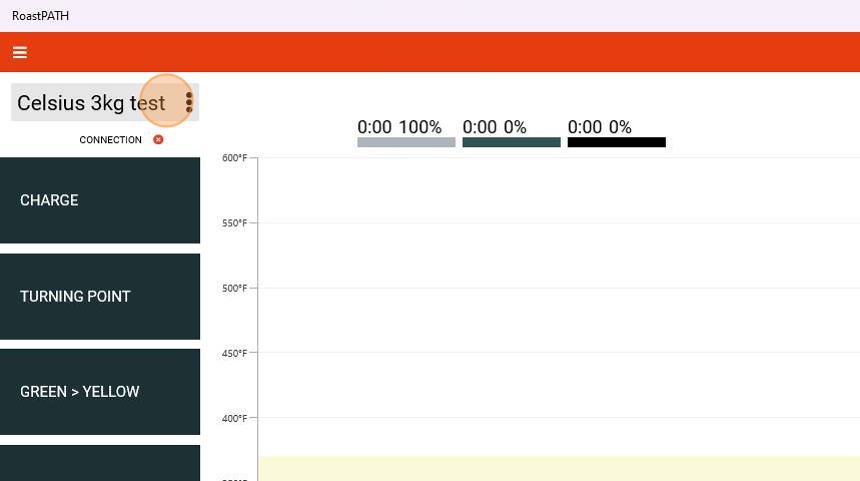
On the top left of the RoastPATH Window click the 3 vertical dots to open the Roaster Config pop-up. Choose from the available Roaster Configs in your account, found in the dropdown under 'Roaster', and hit the reload icon to the right of the dropdown. To add a roaster, visit your RoastPATH Portal. For more information on adding a roaster, see the article Add your Roaster.
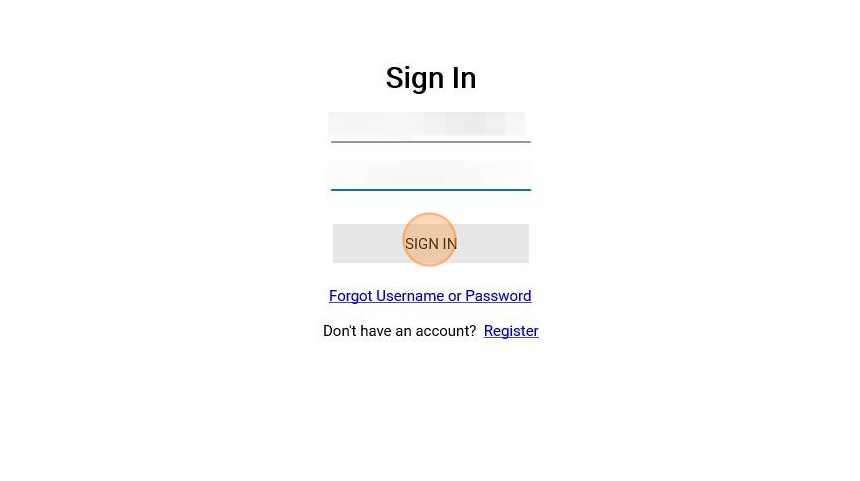
1. Sign In to the RoastPATH App
2. Click the 3 Vertical Dots in the upper left
3. Open the Roaster dropdown

4. Select your Roaster
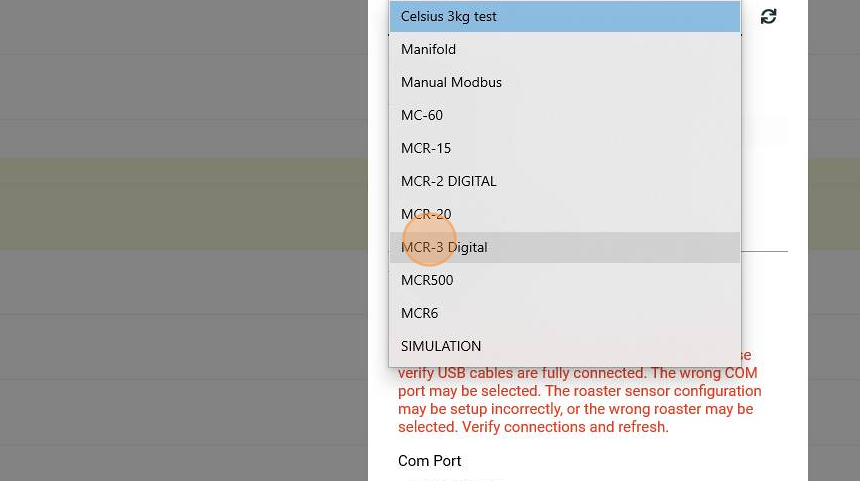
5. Click "Refresh" Icon

How to set your Coffee:
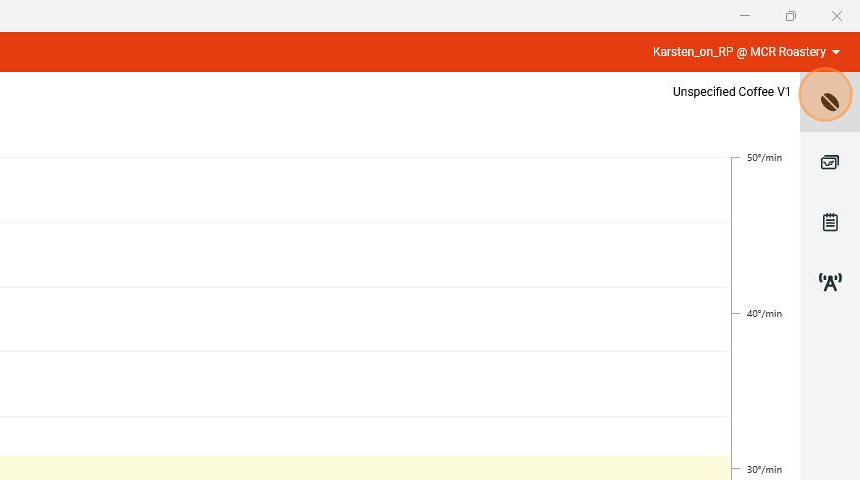
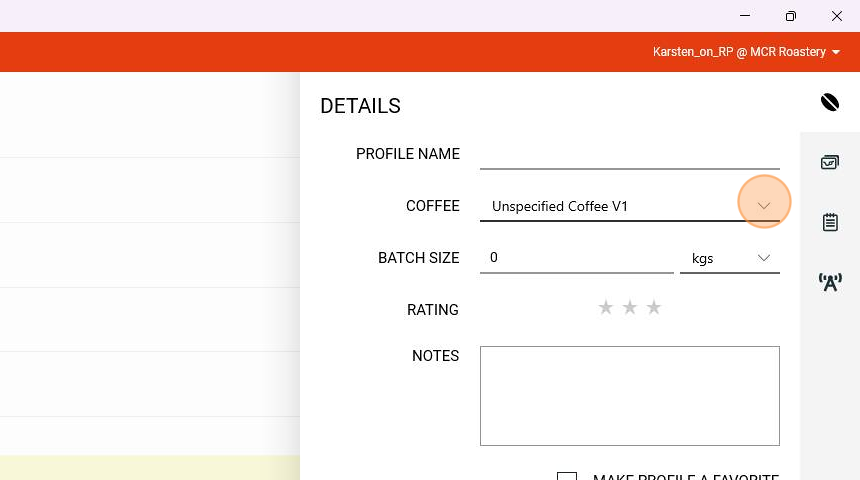
On the upper right of the RoastPATH Window click the Bean icon, choose the coffee you are roasting from your active coffees. To add a new Coffee go to the RoastPATH Portal. Click on 'My Roastery' on the top right navigation menu. Then click 'Coffees' on the upper left navigation menu. Then click on the 'Create A New Coffee' button in the upper right of the page. For more information on Creating a Coffee, see the article Creating Coffees.
1. Click the "Bean" Icon in the upper right
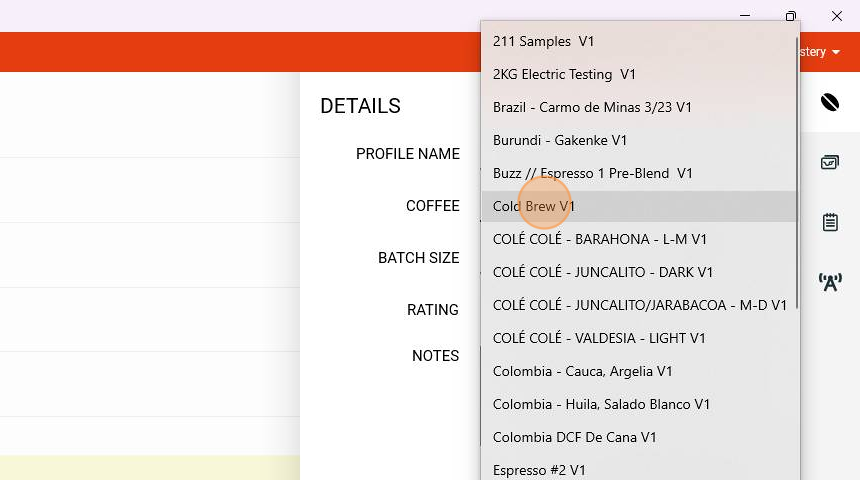
2. Click the Coffee dropdown
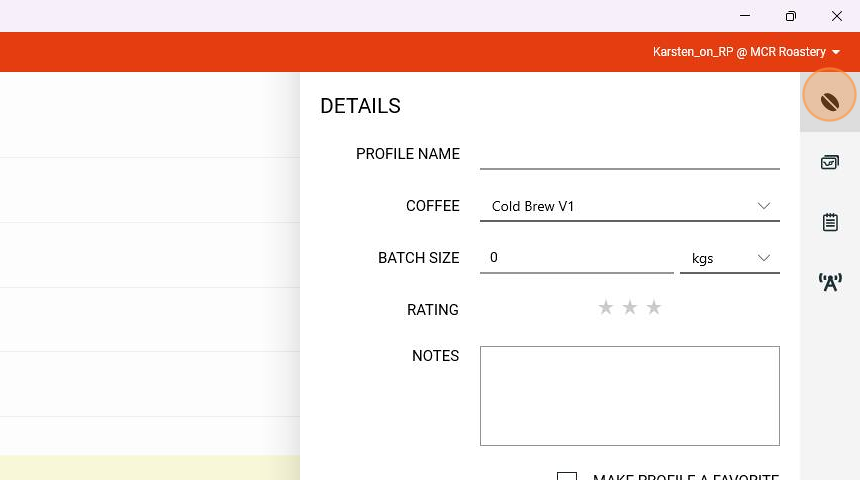
3. Select the Coffee you are about to roast from the list of your Organization's Coffees
4. Click the Bean Icon again to close
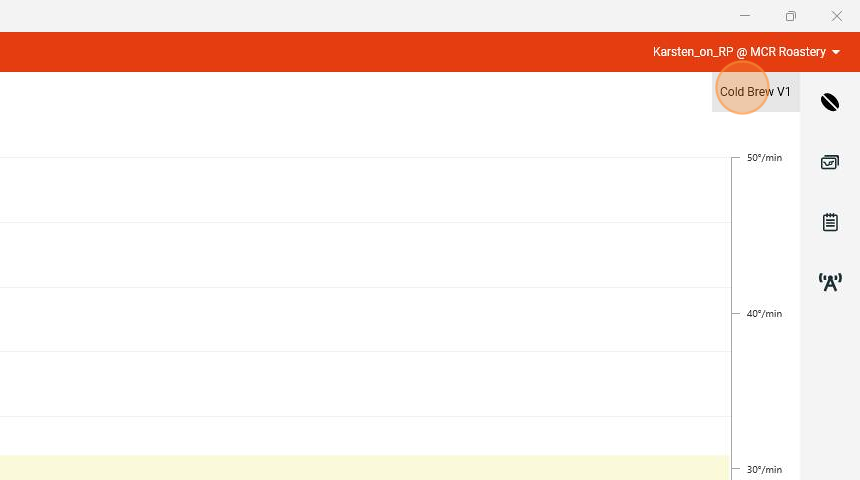
5. Note the selected coffee appears under your username in the upper right of the Roast Chart
Comments
0 comments
Please sign in to leave a comment.